Now that 12c was released it’s time to install in on OEL 6.4 64 bits OS. Let’s start playing with this.
Before we start with the creation of the VM we will need to download some software first, such as:
- The VirtualBox for Windows: https://www.virtualbox.org/wiki/Downloads
- The OEL 6.4 OS: https://edelivery.oracle.com/linux
- The Oracle Database 12c Release 1 for Linux x86-64: http://www.oracle.com/technetwork/database/enterprise-edition/downloads/database12c-linux-download-1959253.html
Now that we have all the required software, let’s use the following steps to create our virtual machine using VirtualBox.
1 – Start VirtualBox and click on the option [New].
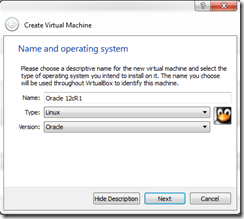
2 – Name the Virtual Machine and select the type of OS (Oracle Linux) and click [Next].
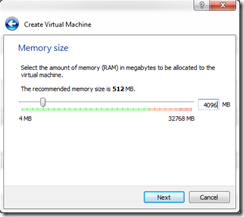
3 – Enter the amount of RAM for the VM. For this example I’m entering 4096MB if you do not have this amount of memory to use, please try with 2048 MB. An click [Next].
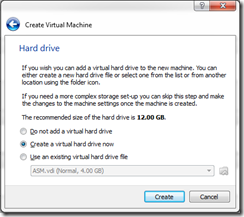
4 – Now is time to create the virtual disk for the VM. Select Create a Virtual Hard Drive now and click [Create].
5 – Select a hard drive type to be created, select VMDK and click [Next].
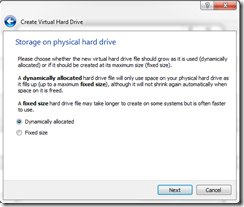
6 – Select the Dynamically allocated option and click [Next].
7 – Now let’s select the file allocation and size for our disk. Let’s enter 50 GB for the disk Data and click [CREATE] to create the VM.
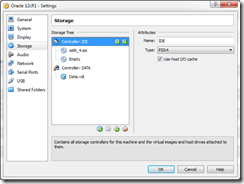
8 – Select the VM just created, than click [Settings] , select [Storage] , [ADD CD/DVD] , add the OEL 6.4 64 bit ISO image and click [OK].
9 – Due that I have a god number of CPUs available on my laptop, I will edit the VM to have 2 vCPUs. (This is an optional step)
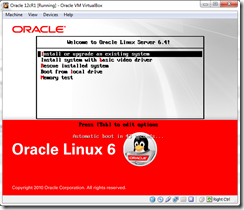
10 – Start the VM and click on the option [Install or upgrade an existing system].
11 – Select [Skip] the Disk Test.
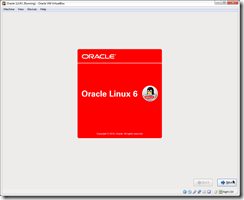
12 – The installation Welcome Screen will appear. Please click [Next].
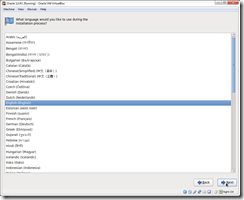
13 – Select the installation Language. For this example we will select [English] and click [Next].
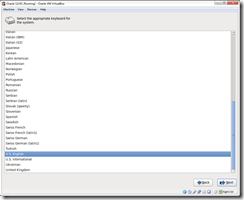
14 – Select the VM Keyboard to be use [U.S. English] and click [Next].
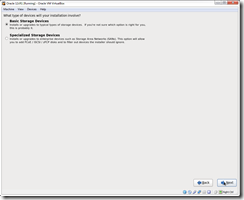
15 – Select [Basic Storage Devices] and click [Next].
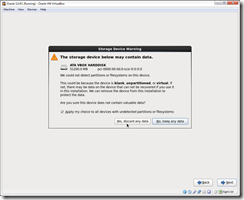
16 – You will receive a warning message that the device bellow may contain data. Click [Yes, discard any data].
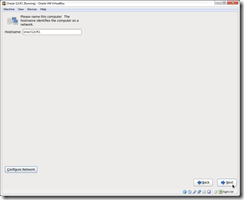
17 – Enter the Host name of the VM, For this example I will use oracle12c and click [Next].
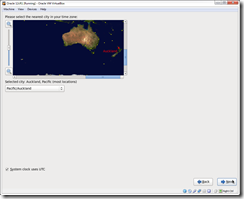
18 – Select your time zone and click [Next].
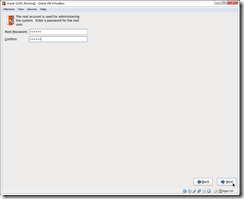
19 – Enter the Root use password. For this example I used “oracle” and click [Next].
20 – For the type of installation select [Replace Existing Linux System(s)] and click [Next].
21 – Once again you will receive a warning message, this time saying that the partitions will be written to disk. Please click on [Write changes to disk].
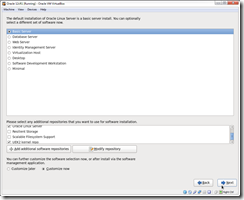
22 – In the next screen select [Basic Server], [Customize now] and click [Next]
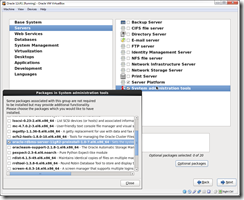
23 – Now we will select the following packages group on our installation:
- Base System > Base
- Base System > Compatibility libraries
- Base System > Hardware monitoring utilities
- Base System > Large Systems Performance
- Base System > Network file system client
- Base System > Performance Tools
- Base System > Perl Support
- Servers > Server Platform
- Servers > System administration tools
- Select the Package oracle-rdbms-server-11gR2-preinstall due that the 12c package still not available yet and this will work just fine for this installation.
- Desktops > Desktop
- Desktops > Desktop Platform
- Desktops > Fonts
- Desktops > General Purpose Desktop
- Desktops > Graphical Administration Tools
- Desktops > Input Methods
- Desktops > X Window System
- Development > Additional Development
- Development > Development Tools
- Applications > Internet Browser
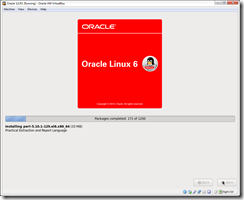
24 – Click [Next] and the Installation Process will start.
25 – The Congratulations screen will appear and you will need to click [Reboot].
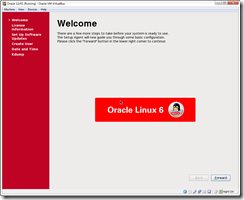
26 – On the OEL 6 Welcome page click [Forward].
27 – Review the License Information, select [Yes, I agree to the License Agreement] and click [Forward].
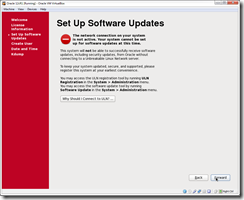
28 – In the Set Up Software Updates page just click [Forward].
29 – In the Create User page just click [Forward].
30 – Enter the Date and Time for your system and click [Forward].
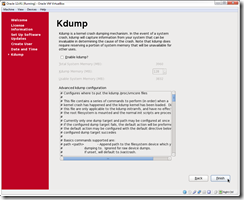
31 – Do not select Enable Kdump and click [Finish] to reboot the machine once again.
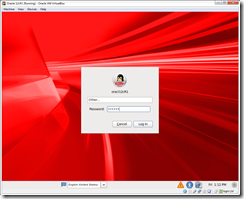
32 – After the reboot connect to the machine using the root user.
33 – Disable the Firewall on [Administration] –> [Firewall].
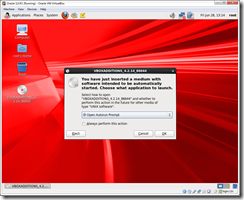
34 – Select [Devices] –> [Install Guest Additions] to install the Virtual Box Guest Additions.
35 – Transfer the Database files to the virtual machine and unzip them.
- $ unzip linuxamd64_12c_database_1of2.zip
- $ unzip linuxamd64_12c_database_2of2.zip
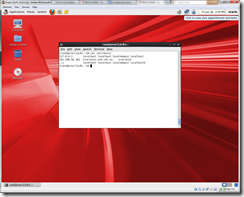
36 – Configure the Host file as per the screenshot bellow.
37 – Use YUM (public yum) to automatically setup the Oracle prerequisites if not used when installing the OS.
*** As you can see above in the screen shot, the oracle-rdbms-server-12cR1-preinstall package still not available. For this scenario we will use the oracle-rdbms-server-11gR2-preinstall package that will do the trick for us.
38 – Now we will need to setup the user oracle password .
$ passwd oracle (for this lab we will user the password oracle)
39 – Create the directories in which the Oracle software will be installed.
mkdir -p /u01/app/oracle/product/12.1.0/db_1
chown -R oracle:oinstall /u01
chmod -R 775 /u01
40 – Login as the oracle user and add the following lines at the end of the “.bash_profile” file.
# Oracle Settings
TMP=/tmp; export TMP
TMPDIR=$TMP; export TMPDIR

ORACLE_HOSTNAME=oracle12c; export ORACLE_HOSTNAME
ORACLE_UNQNAME=DB12G; export ORACLE_UNQNAME
ORACLE_BASE=/u01/app/oracle; export ORACLE_BASE
ORACLE_HOME=$ORACLE_BASE/product/12.1.0/db_1; export ORACLE_HOME
ORACLE_SID=DB12G; export ORACLE_SID

PATH=/usr/sbin:$PATH; export PATH
PATH=$ORACLE_HOME/bin:$PATH; export PATH

LD_LIBRARY_PATH=$ORACLE_HOME/lib:/lib:/usr/lib; export LD_LIBRARY_PATH
CLASSPATH=$ORACLE_HOME/jlib:$ORACLE_HOME/rdbms/jlib; export CLASSPATH
41 – On the unziped folder created, go to database/rpm and install the cvuqdisk-1.0.9-1.rpm package.
$ rpm –Uvh cvuqdisk-1.0.9-1.rpm
42 – run xhost +
$ xhost +
access control disabled, clients can connect from any host
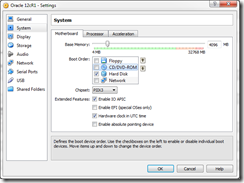
43 – Stop the Virtual Machine and Remove the OS disk from the [Storage] section and unselect the CD/DVD-ROM from the Boot Order and Start the VM.
Next, on part 2 of this lab, we will install the Oracle Database software and take a look in the Oracle Enterprise Manager Database Express.
Regards,
Francisco Munoz Alvarez
//













Reblogged this on Sutoprise Avenue, A SutoCom Source.