We will complete our lab by installing the Oracle Database software, create a Pluggable database and take a look in the Oracle Enterprise Manager Database Express.
The steps to install and create an Oracle Database 12c are:
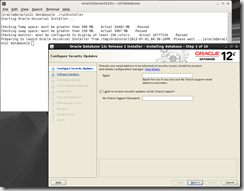
1 – Go to the database directory created when unzipped the 2 Oracle Database Files and run /runInstaller .
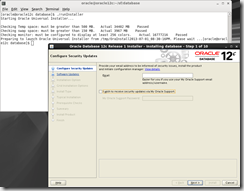
2 – Unselect the option [I wish to receive security updates via My Oracle Support] and click [Next]. Of course, if you want to receive updates all you need to do is to leave this option marked and enter your My Oracle Support email and password.
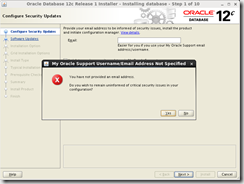
3 – You will receive a warning message that you have not provided an email address. Just click on [Yes].
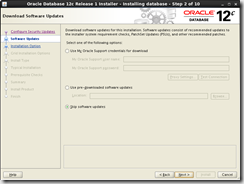
4 – Select [Skip software updates] and click [Next].
5 – Select [Create and Configure a Database] and click [Next].
6 – Select [Server Class] and click [Next]. *** If you do not have enough resources on your laptop, please choose Desktop Class instead of Server Class.
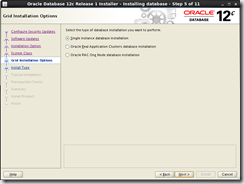
7 – Select the type of Database to be installed, choose [Single instance database installation] and click [Next].
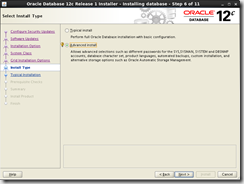
8 – Select the Install type. For this lab I will choose [Advanced Install] and click [Next].
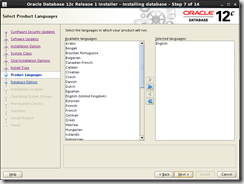
9 – Select the product Language, here all you need to to is leave English as the default and click [Next].
10 – Select the Database Edition you want to install. Select [Enterprise Edition] and click [Next[.
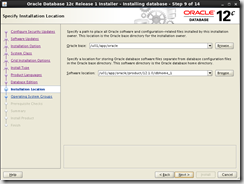
11 – Specify the Installation location and click [Next].
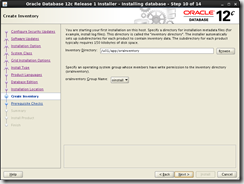
12 – Create the Inventory and click [Next].
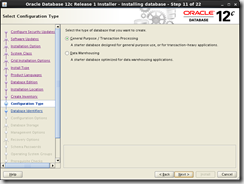
13 – Select the type of database you want to create. Select [General Purpose] and click [Next].
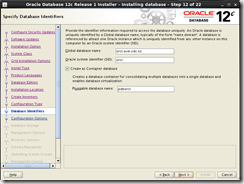
14 – Specify the database identifiers, enter “orcl” as the SID and here you can decide if you want to create a Container Database or as early releases a non-Container Database (by not selecting [Create as Container database]. For this example we will select Container database and create a Pluggable Database called “pdborcl” and click [Next].
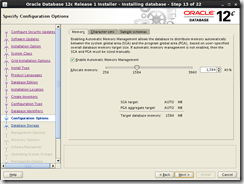
15 – Specify the configurations options, by default the Automatic Memory Management is enabled, click [Next].
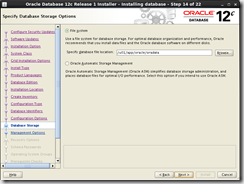
16 – Specify the storage to be used. Select [File System] and click [Next].
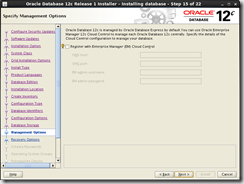
17 – Management options. If you have an EM Cloud Control running on your environment, here is where you specify the EM details to manage this database. Leave as the default and click [Next].
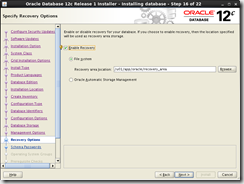
18 – Enable Recovery and click [Next].
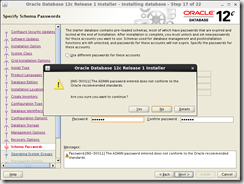
19 – Specify Passwords. For this scenario we use the password “oracle” to all accounts. Click [Next].
20 – A warning will appear due that we are using a easy password. Click [Yes].
21 – Click [Next] on Privileged Operating Systems groups.
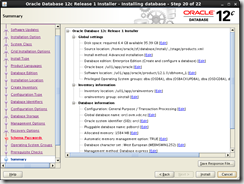
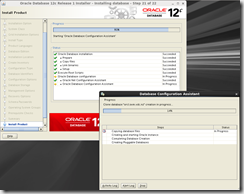
22 – Review the Summary page and click [install].
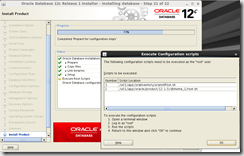
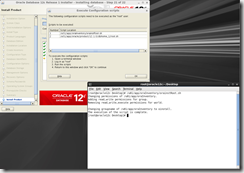
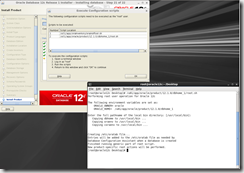
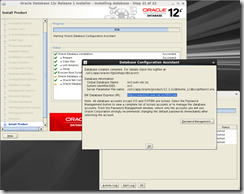
23 – Execute the configuration scripts as root and click [Ok] to continue the installation.
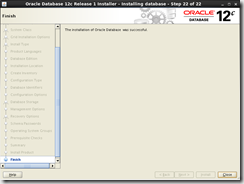
24 – In the Finish page click [Close].
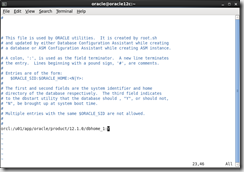
25 – Edit /etc/oratab as follows.
26 – Check the listener status.
27 – Check if the Container Database is running.
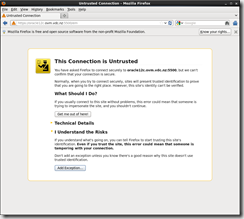
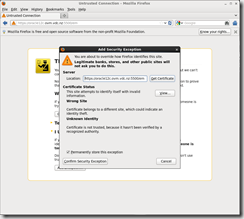
28 – Connect to the Enterprise Manager Database Express. It will first ask you to add a Security Exception in Firefox.
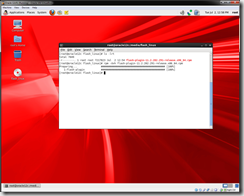
29 – The Next step will be to download the Adobe Flash Player rpm and install it.
30 – Enter your database username and password. SYS and oracle and click [Login]
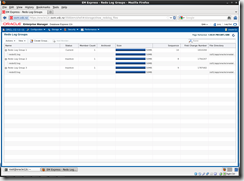
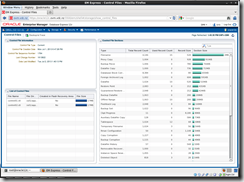
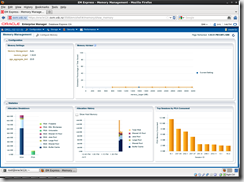
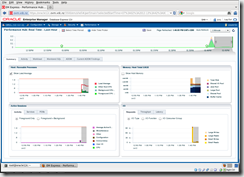
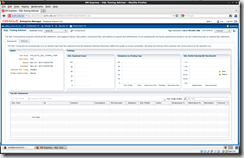
31 – This is the First Screen of the new Enterprise Manager Database Express 12c. Here you are not able to use monitoring, set alertings or even execute backup and recovery operations. But you can do a lot of other stuff such such as per example: Manage Storage such as: Undo, Redo Log Files, and Control Files, Configure Initialization Parameters, Memory and Database Features and finally Manage Performance, SQL Tuning and Users. and Roles (Security).
Hope you enjoyed this tutorial and soon many more will come.
Regards,
Francisco Munoz Alvarez
//











Hi Francisco,
Thanks for the great tutorial.
From zero to a running Oracle DB & Enterprise Manger 🙂
Thanks
Kevin