In this small Tutorial we will learn how to add a new disk to our Virtual Machine created in our previous tutorial. Add a new disk to the virtual machine is very easy, just follow the tasks bellow:
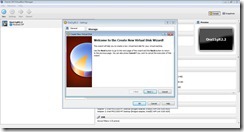
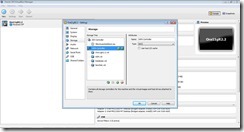
First, with your virtual machine off click on Settings, than go to Storage , than you will see two main options: IDE Controller and SATA Controller. Choose the second icon with the green “+” for SATA Controller and the screen bellow will show up. Please click on [Create new disk].
Now click [Next].
Select [Dynamically expanding storage] and click [Next].
Enter the file name for your new disk, for this example I choose NewDisk.vdi and enter the size of this new disk. For this tutorial I choose 4.0 GB, than click [Next].
Now to finish with this creation part, all you need to do is to click on [Finish] as bellow.
You can easily see the new disk in the Storage Settings.
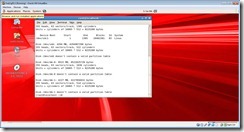
Now Turn on your virtual machine and open a terminal screen. To prepare this new disk to be used, we will use the fdisk command as show bellow.
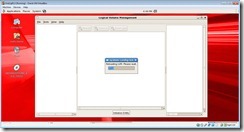
The next step will be to use the “Logical Volume Management” tool in the Oracle Enterprise Linux menu [“System/Administration” ] as you can see in the image bellow.
When the first screen is open, please go to [Uninitialized Entities], select the new disk partition (In this case /dev/sdd) and click on [Initialize Entity].
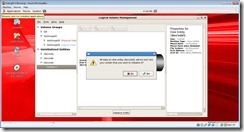
You will see the warning screen asking to confirm the initialization. Please click [Yes].
Now that the new disk was initialize, go to Unallocated Volumes and select the partition of disk /dev/sdd and click on [Create new Volume Group].
A screen asking to enter the new volume group name will appears, enter “Data” and click [Ok].
Now go to “Volume Groups”, select the Logical View of the Volume Group you just created “Data” and click on [Create New Logical Volume].
Now you will need to enter the LV Name, in this case Data. Select the size of the VL (4GB for this example), select the Filesystem to be mount (Ext3) and select the “Mount” and “Mount when rebooted” options. And click [Ok].
Please click [Yes] in the warning screen.
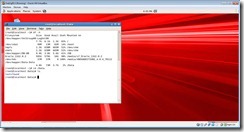
And That’s it, you can go to your terminal screen and run the command “df-k” to see all mount points including the new disk
Kind Regards,
Francisco Munoz Alvarez


