The idea of this tutorial is to show you how you can create an Oracle Database 11gR2 using Oracle VirtualBox and OEL.
This installation should never be used for Production or Development purposes. This installation was created for educational purpose only, and is extremely helpful to learn and understand how Oracle works if you do not have access to a traditional hardware resource.
Now let’s start this fouth part of the tutorial (if do you want to see the first part, please click here: http://bit.ly/hmEVv5 , to the second part here: http://bit.ly/gkpHn6 , third part here: http://bit.ly/e0PSux or the fourth part http://bit.ly/e7UU6a).
*** Remember to always read the official Oracle Documentation before do a new installation of this product, you can find the documentation here: http://bit.ly/h7UHdV .
Now in the last part of this tutorial we will go thru the final and easy part, the installation and creation of the Oracle Database.
First we need to run the RunInstaller (from the directory where you unziped the Oracle binaries for the installation), than you will need to fill your information (as per your My Oracle Support/Metalink) if you want to be informed regarding any Oracle Security issues (if you do not want to enter your information, just click [Next] and click [OK] in the warning screen that will show up.
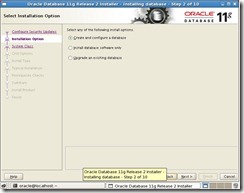
Next, Select Create and Configure a Database and click [Next].
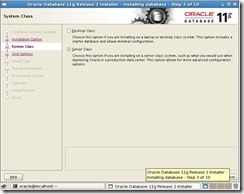
Now select Server Class installation and click [Next].
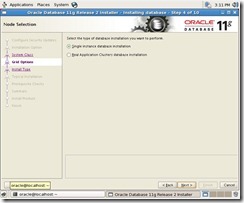
Select Single Instance database installation and click [Next].
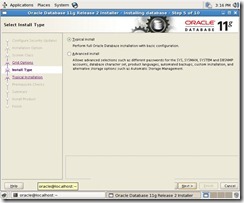
For this lab, we will select Typical Installation and click [Next].
Now, confirm all default information, enter your ASM password, Database name (in this example we will use “orcl”) and your administrative password and click [Next].
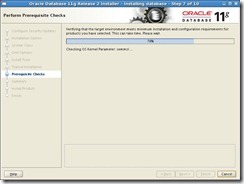
Oracle will now verify that all is ok.
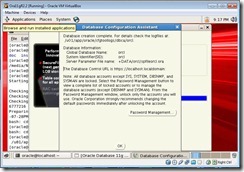
The easy part, just click on [Finish] and the installation will begin.
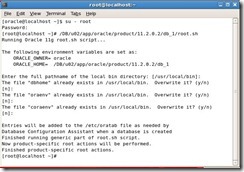
Now is time to run the root.sh script as root and only after this click [Ok].
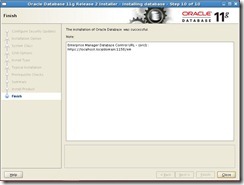
And that it! you have the Oracle binaries now installed and the new database “orcl” runing. This last screen show you your Enterprise Manager Database control URL and after click [Done] you are ready to play in your new environment.
Thank you
for follow this tutorial, and hope to see you around for the next one.
Kind Regards,
Francisco Munoz Alvarez


