| Project Name | 11gR2/2011 |
| Author | Francisco Munoz Alvarez |
| Software Used | Oracle Enterprise Linux 5.6 Oracle VirtualBox 4.0.2 Oracle 11.2.0.2 Database and Infrastructure Software |
| Date | 02/02/2011 |
The idea of this tutorial is to show you how you can create an Oracle Database 11gR2 using Oracle VirtualBox and OEL.
This installation should never be used for Production or Development purposes. This installation was created for educational purpose only, and is extremely helpful to learn and understand how Oracle works if you do not have access to a traditional hardware resource.
Now let’s start this fouth part of the tutorial (if do you want to see the first part, please click here: http://bit.ly/hmEVv5 , to the second part here: http://bit.ly/gkpHn6 , or third part here: http://bit.ly/e0PSux).
*** Remember to always read the official Oracle Documentation before do a new installation of this product, you can find the documentation here: http://bit.ly/h7UHdV .
For the installation of the Oracle Grid Infrastructure installation you have the following requirements:
- Memory: 1 GB of RAM
- Disk: At least 2.3 GB of disk space and at least 1GB of space in the /tmp directory.
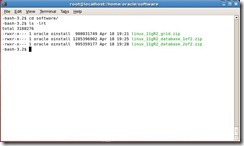
Before we start we need to copy the following files to our virtual machine (in this case we will copy them to a directory located at: /home/oracle/software):
- linux_11gR2_grid.zip
- linux_11gR2_database_1of2.zip
- linux_11gR2_database_2of2.zip
Next you need to unzip the files and after this step you will have 2 directories, one called grid and another called database. After this step, please add a new disk to your virtual machine with the size of 4GB to allow you to install the Grid Infrastructure.
Now we will need to identify our partitions available (using the user root), for this we will need to use the following command:
# cat /proc/partitions
In our case, we will need to use fdisk to prepare the disk /dev/sdb as show bellow:
Than reboot your virtual machine to allow the new partition to be used.
Now let’s configure the disk(s ) to be used by ASM, for this we will use the command:
# oracleasm configure –i
Initialize the asmlib with the oracleasm init command. This command will load the oracleasm module and also mounts the oracleasm filesystem.
Now is time to use the oracleasm createdisk <diskname> <device_name> command to create the ASM disk label for each disk as follow:
To check if the disk is visible to the ASM and to see if it is mounted in the oracleasm filesystem use the following commands as bellow:
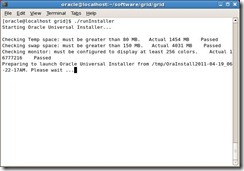
Now we are ready to install the grid infrastructure software, let’s go to the directory where your grid software is and run the command (as oracle, not root) ./runInstaller
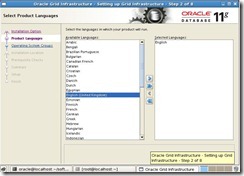
Please, select your language and click [Next].
Select the disks
to be used by the ASM and click [Next]Now enter the new passwords as requested bellow and click [Next]
For this example, we will select DBA to all operation system groups.
You are going to receive a warning message because using the same OS group, in this case, please click [Yes]
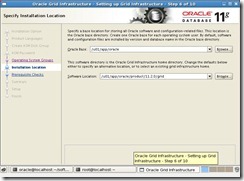
Please check if the path requested bellow are ok and click [Next]
In this case, this is the first Oracle installation in this server and Oracle will request you to enter the new location for the inventory, please check and click [Next]
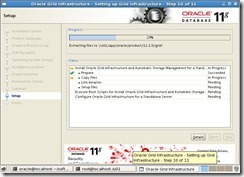
Now to finish the Grid Infrastructure installation just click [Finish]
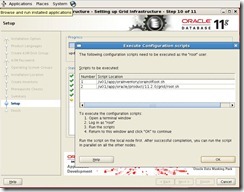
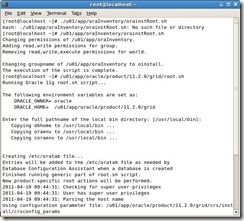
The next step will be to run as root the scripts as show bellow and click [OK]
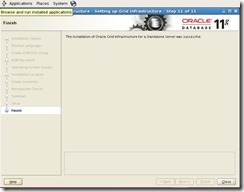
Now your final screen will show you that all the software was install successful and you just need to click on [Close] to finish this process.
Congratulations, you have your Grid Infrastructure successfully installed in your virtual machine.
In the next part, we will install the Database software to conclude this tutorial.
Kind Regards,
Francisco Munoz Alvarez

