| Project Name | 11gR2/2011 |
| Author | Francisco Munoz Alvarez |
| Software Used | Oracle Enterprise Linux 5.6 Oracle VirtualBox 4.0.2 Oracle 11.2.0.2 Database and Infrastructure Software |
| Date | 02/02/2011 |
The idea of this tutorial is to show you how you can create an Oracle Database 11gR2 using Oracle VirtualBox and OEL.
This installation should never be used for Production or Development purposes. This installation was created for educational purpose only, and is extremely helpful to learn and understand how Oracle works if you do not have access to a traditional hardware resource.
Now let’s start this second part of the tutorial (if do you want to see the first part, please click here: http://bit.ly/hmEVv5 )
3) Install Oracle Enterprise Linux 5.6
- Let’s install OEL 5.6 on our newly created virtual machine in the part 1 of this article, first let’s click on [Start] in the top left menu, it will bring the Welcome page to you, please click [Next] than.
- In the next screen you need to tell the virtual machine the location of your OS software, than click [Next].
- The summary screen will show up and you need to check that you are using the correct media to boot from, after check all click [Next].
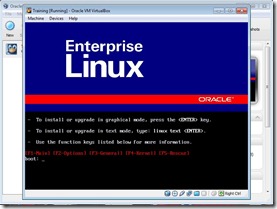
- The virtual machine will boot using the media you selected, in this case, it will start using the OEL 5.6 CD
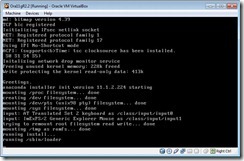
- The Oracle Linux first screen have now changed (Left one is the new one and the right one is the old one). Please click [Enter] here.
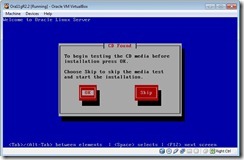
- The next screen will ask if do you want to check the media before start to install it, in this case please click on [Tab] to move to [Skip] and click [Enter].
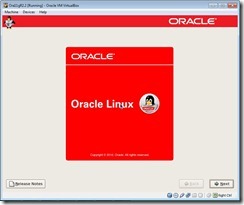
- The OEL Installation screen have now also changed (Left one is the new one and the right one is the old one). Please click [Next] here.
- In the next screen you need to select the language you want to use during all the installation process, in this case you’ll choose English and than click [Next].
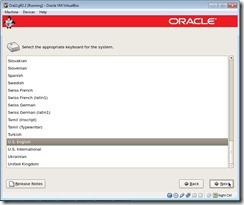
- Next you need to select the appropriate keyboard for the system, choose U.S. English and clic
k [Next].
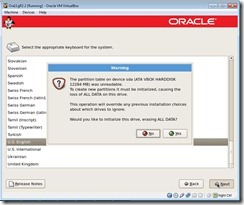
- You will receive a warning that the partition table is unreadable because it is a new one, please click [Yes].
- The next screen is the partitions layout screen, for this Lab we will use the default setup (it will have a swap area of 4GB). Click [Next].
- Once again, it will show a warning screen. Click [Yes] here.
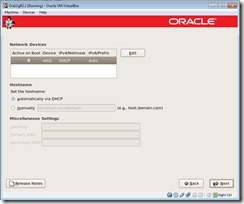
- The next screen is the Network Devices screen, click [Next] here.
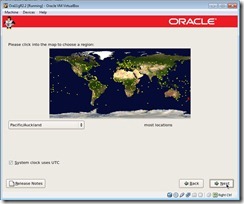
- Next, we will setup in the map our region (Pacific/Auckland in my case), than click [Next].
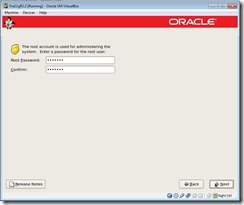
- Now we need to enter our root account password, enter “oracle1” and click [Next].
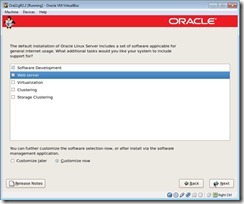
- Now we need to select the software we want to install during the installation, in this case let’s select “Software Development” and “Web Server” than select [Customize now] and click [Next].
- Check if the following package groups are selected to be install, if any of these are not selected please select it and than click [Next].
- Development Libraries
- Development Tools
- Server Configuration Tools
- Administration Tools
- Base
- System Tools
- X Window System
- GNOME Desktop Environment
- Editors
- Graphical Internet
- Text-based Internet
- Now you are ready to install the software, to start the installation just click [Next].
- The next screen will show you the installation progress.
- When finished it will show you the congratulations screen, than click [reboot].
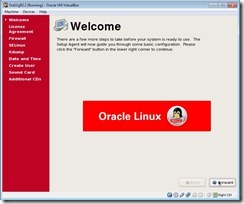
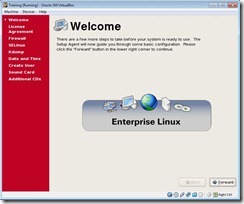
- Now we need to start to configure our new OEL installation (This is another screen that had changed, the left image is the new one and the right one is the old one). click [Forward] here.
- Now you will have in front of you the Software License Agreement, please read it and if you agree with it select [Yes] and click [Forward].
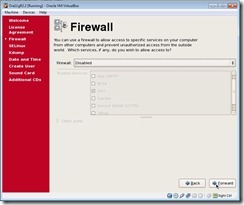
- For this Lab, please disable the Firewall and click [Forward].
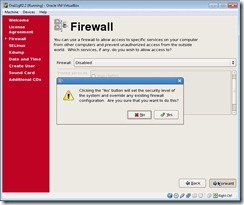
- Click [Yes] in the warning screen.
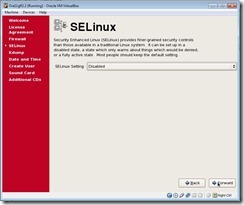
- In the next screen disable the SELinux and click [Forward].
- Once again, click [Yes] in the warning screen.
- In the Kdump screen just click [Forward].
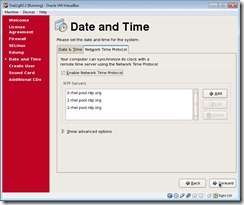
- In the Date and Time screen select “Network Time Protocol” and click [Forward].
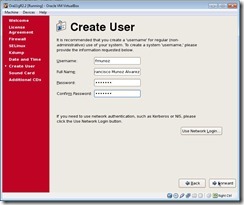
- Now we will create a non-administrative user, for this lab enter:
- Username: fmunoz
- Full Name: Francisco Munoz Alvarez
- Password: oracle1
- Confirm Password: oracle1
- Next you will see the Sound Card screen, I recommend you to do a Sound Test to check if all is working right, than click [Forward].
- in the Additional CDs screen just click [Finish] and you will see a warning screen telling that the system will reboot to all the selections take effect. Click [OK].
- Now your Linux installation is ready and as you can see Oracle changed all screens from the old Blue background to the new Red background. Enter “Root” for the username and “oracle1” when requested for the password than click [Enter].
- Now you are ready to go, start playing around for a bit, just to see what changed in this new version of OEL.
- One more last thing, go to [Devices] in the top menu of the virtual machine, than [CD/DVD Devices] and unselect the boot media used [OEL] if not, the next time you reboot your virtual machine it will try to install OEL again

In the next part of this tutorial I will show you how to install Oracle Database 11gR2 in this new virtual machine!
Kind Regards,
Francisco Munoz Alvarez













Hi Francisco,
Nice to see this article…
I would be looking forward for your article on Oracle 11gR2 Rac on Virtual Box…
I am going to be also doing it on my laptop sooner..so just want to see what you have from your end.
Great Work.
Thanks,
Sheldon
Hi.
I kinda like the new red screen. It’s a little bit more snazzy than the old blue one. 🙂
Sheldon: If you can’t wait for Francisco to do an 11gR2 RAC on VirtualBox you can always use mine (http://www.oracle-base.com/articles/11g/OracleDB11gR2RACInstallationOnOEL5UsingVirtualBox.php).
Cheers
Tim…
Hi Tim & Francisco,
I appreciate your kind gesture in providing me the links…that would be helpful down the line.
I have a 12Gb laptop and what I have decided is to have a DNS Server and using openfiler as storage to configure the Rac.
I am still working on it , But Right now just preparing for 11G OCP New Features Exams.
I ealier tried to get the standalone Rac setup in 11g on my old laptop but was slowdown by the memory I had.
Great Jobs and Great Article…
Have A Nice Day.
Regards,
Sheldon
please do the next tutorial very soon….I am stuck on the dns configuration…please give a detailed explanation when u talk about this part.
thank you