The Oracle Database Cloud Service (ODBCS) is the DBaaS extension of Virtual Image Service and includes additional automation for database provisioning during service creation, backup, recovery, and patching. While you are still responsible for the complete management of the environment, the embedded automation and tooling can simplify some DBA tasks.
With the exception of Oracle Database Schema Service, these are not “true” PaaS offerings; they function more like IaaS-style services but with database software licenses included. But this is on the way, as Oracle recently announced plans for a fully managed DBaaS offering similar to the one available through AWS.It gives you the flexibility of deploying a Cloud instance that comes automatically with an Oracle database version of your choice (11G, 12c or even 18c) installed and configured (ready to use) with the amazing extra of full access to the OS level as root.
The benefits do not stop there, it also allow you to:
- Choose the editions and options you want to have enabled by default
- Bring your own license or pay as you go (hourly or monthly)
- Have access to automatic backups and recommended Patching
- Snapshots
- and much, much more!
Lets, Play with it and create an instance with Oracle Database 18c for you as example.
1. Deploying the Instance
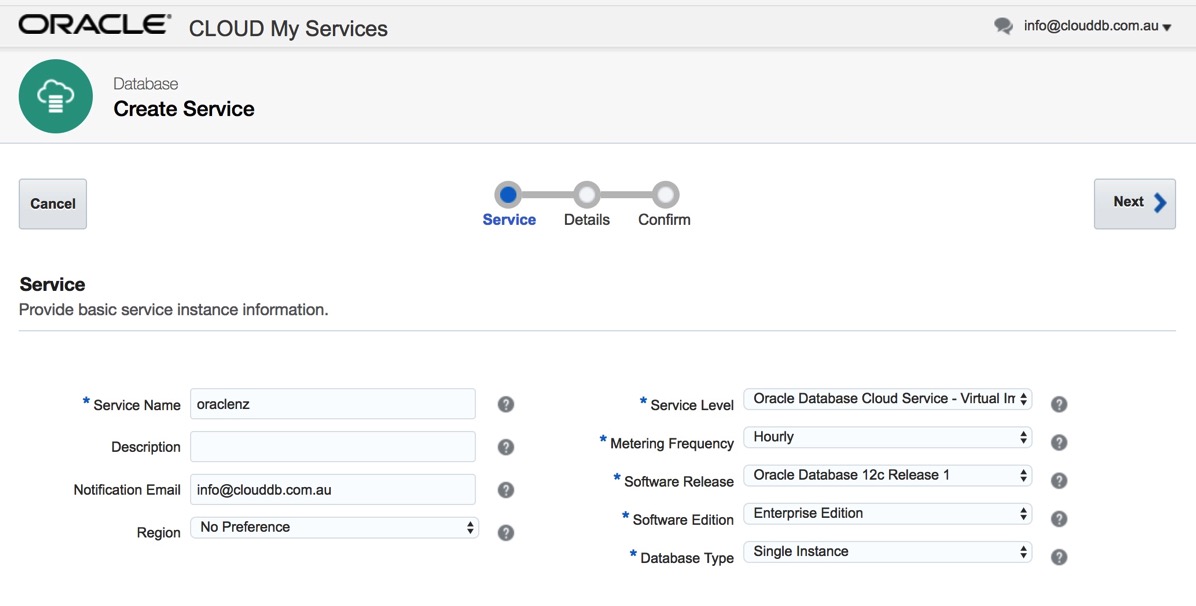
When connected to the Oracle Database Cloud Service page, select the option Create Service as shown bellow.

Next, enter a name for your new service ( a Service Name is the name that your Cloud Instance will have), a description if you want, an email account you will like to use to receive any notification, the region of your preference (if any) to run your Service, specify a tag (if any), then chose the service level as Oracle Database Cloud Service, choose your metering frequency (Hourly or Monthly), next select your desired Database Software Release of your preference – it could be 11gR2 ,12cR1,12cR2 or 18c), next select the software edition of your preference (Standard Edition, Enterprise Edition, Enterprise Edition High Performance or Enterprise Edition Extreme Performance), note that:
- Enterprise Edition includes no Database Options.
- Enterprise Edition High Performance includes all Database Options and Enterprise Manager Packs except RAC, RAC One Node, In Memory Database and Active Data Guard.
- Enterprise Edition Extreme Performance includes all Database Options with RAC, RAC One Node, In Memory Database and Active Data Guard. (Some options are dependent on the Database version and also may only be available in future releases.)
Finally choose the Database Type that could be:
- Single Instance
- Database Clustering with RAC
- Single Instance with Data Guard Standby
- Data Guard Standby for Hybrid DR
- Database Clustering with RAC and Data Guard Standby
For this example I have selected Single Instance and then press Next.
Then enter the DB name of your preference, PDB Name (only CDB DB Implementations are available with this option of PaaS) ,Chose the administration password (it will be used by SYS and System as per example), select the resources that would be used by your Instance (Storage, Compute Shape – Number of Oracle CPUs and desired Memory, for this example we have selected the basic size of 1 OCPU and 7.5 GB RAM) plus enter the SSH Public Key that will grant you a secure access to your instance (Details of how to generate and setup a SSH Key could be found here ).
Net click if you want to make use of high performance storage (if not, just leave it blank), select your preferences for backup and check no when asked if it will be initialised from a backup. Also, click on advanced settings to enter you listener port, timezone, character set, NCS and if you want to enable Golden Gate.
Then click Next.

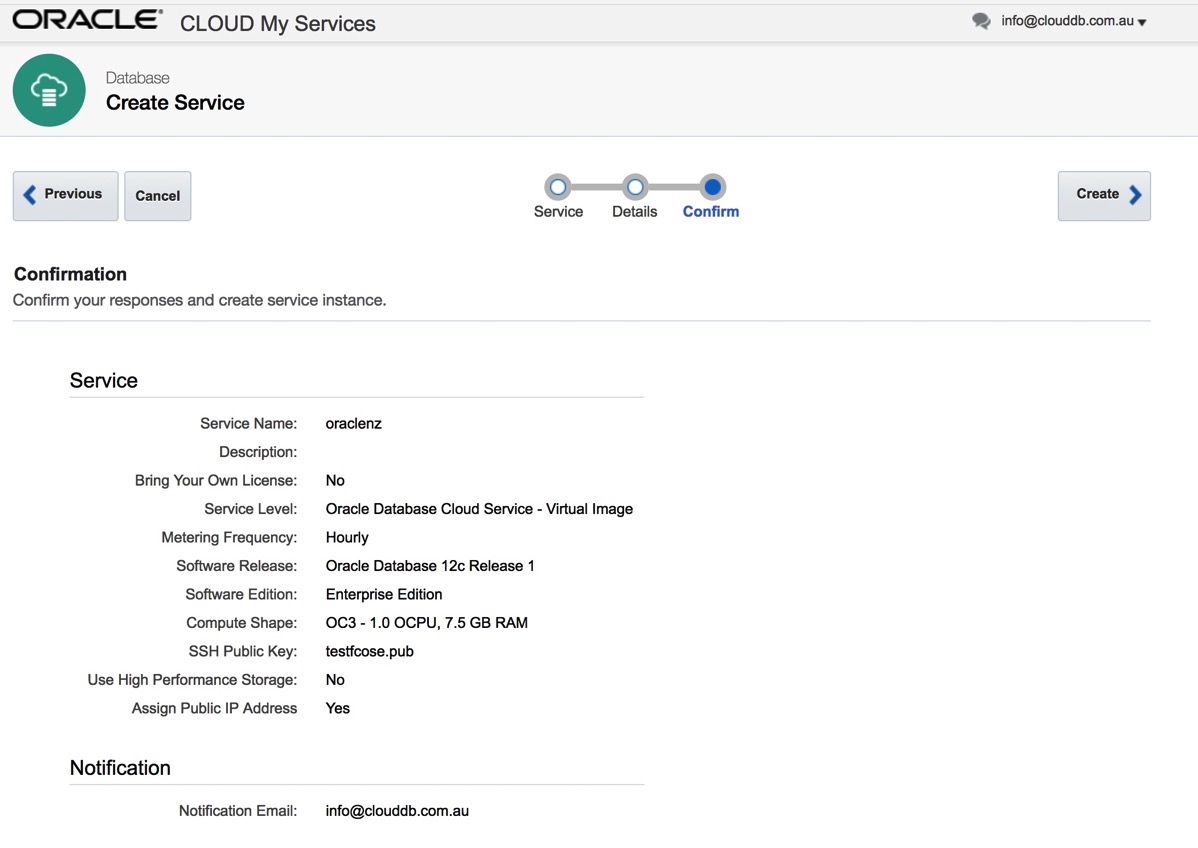
Finally, review and confirm all your responses and press Create.
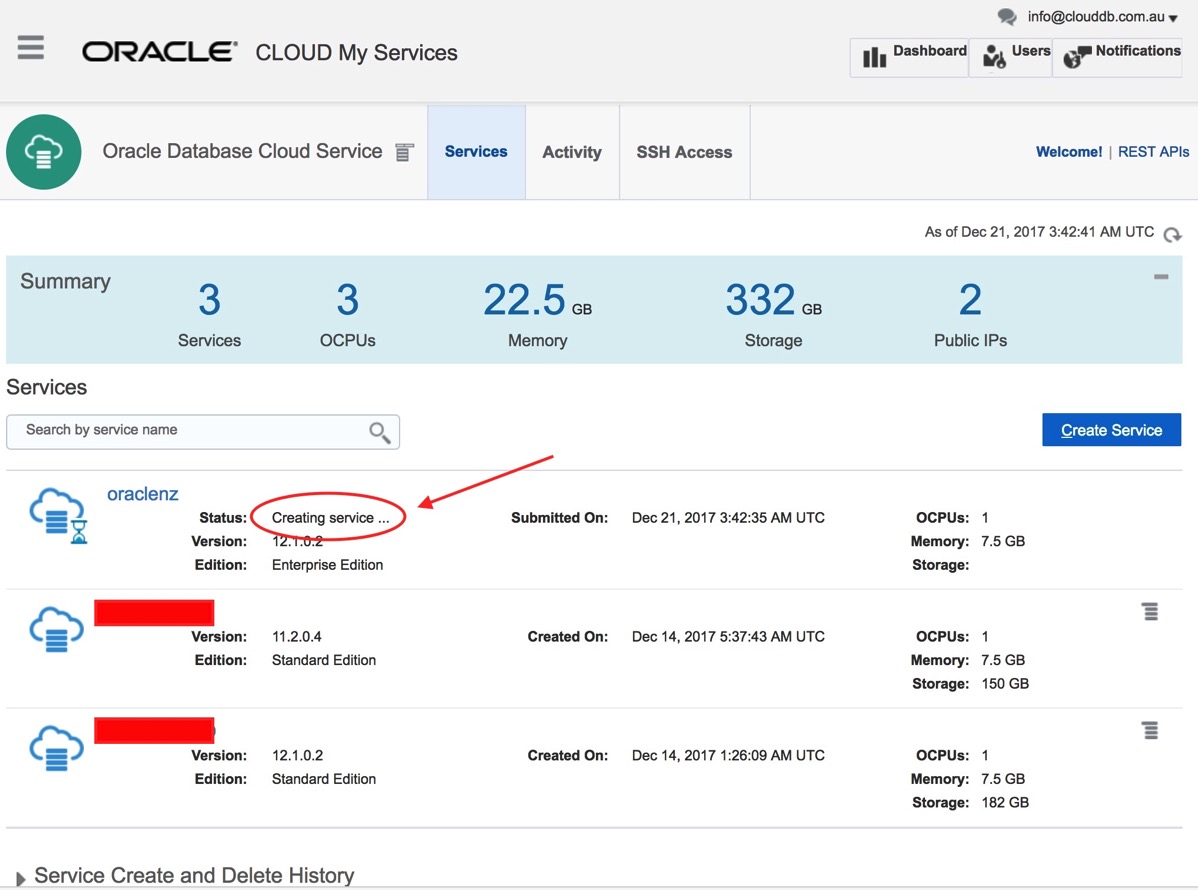
Now your instance is been create and in a few minutes would be ready to go for you. Enjoy !!
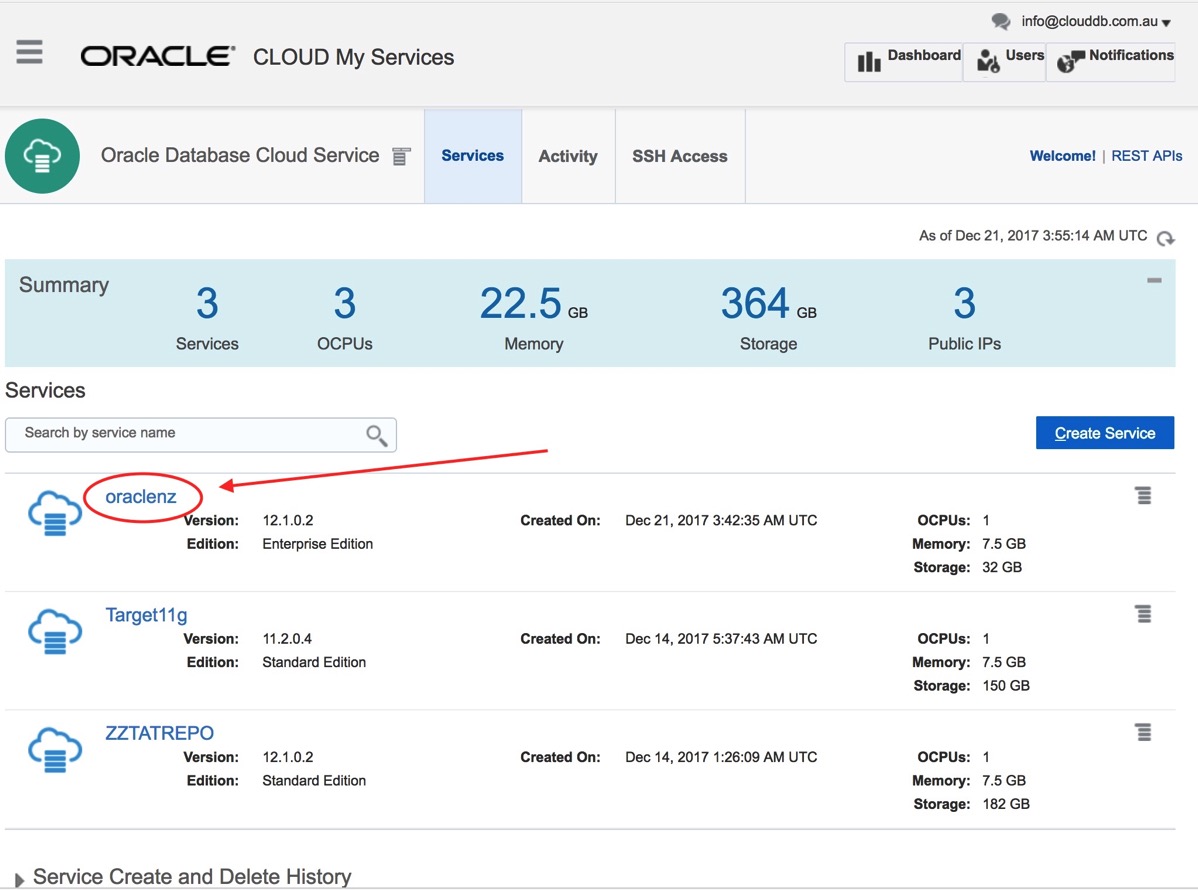
Note: Do not forget to properly setup the access rules for the instance after it becomes available.