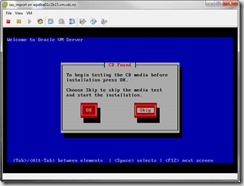
In this blog post we will learn how to convert an ESX VM to OVM 3.1 (V2V) using an ISO boot CD. Basically all you need to do to achieve this objective is to follow the following steps:
1. Uninstall VMtools from VM
2. Attache OVS-3.1.1-524.iso to the VM.
3. Boot VM from CD
4. Enter p2v
5. Press ENTER.
6. Select Skip.
7. Enter the ip address of the VM or obtain address from DHCP.
8. Select the disk(s) to include in the image. You will select all the disks.
9. Use space bar to select the disk(s) and select OK
10. Enter the VM name, Memory and CPUs . Console Password “Password123”
Note that you will have to edit the vm.cfg file after the import and delete the line containing vncpasswd = ‘Password123’.
If you do not remove the line you will be asked to provide a VNC Authenticate password.
11. Select OK
12. On the Transition VM Connect to web server using IE or Firefox.
13. Save System-sda.img and vm.cfg into a folder (VM Name) on the transition VM.
If you have more than one disk you will see more than one System-sda.img.
14. Control-C to restart the VM.
15. Copy the files to their management server and create a TAR ball of the System-sda.img and vm.cfg files.
16. Import the TAR file to the OVM Manager as a template.
17. Clone the template as a VM.
And your are ready to go 😉
Regards,
Francisco


